-1.png)
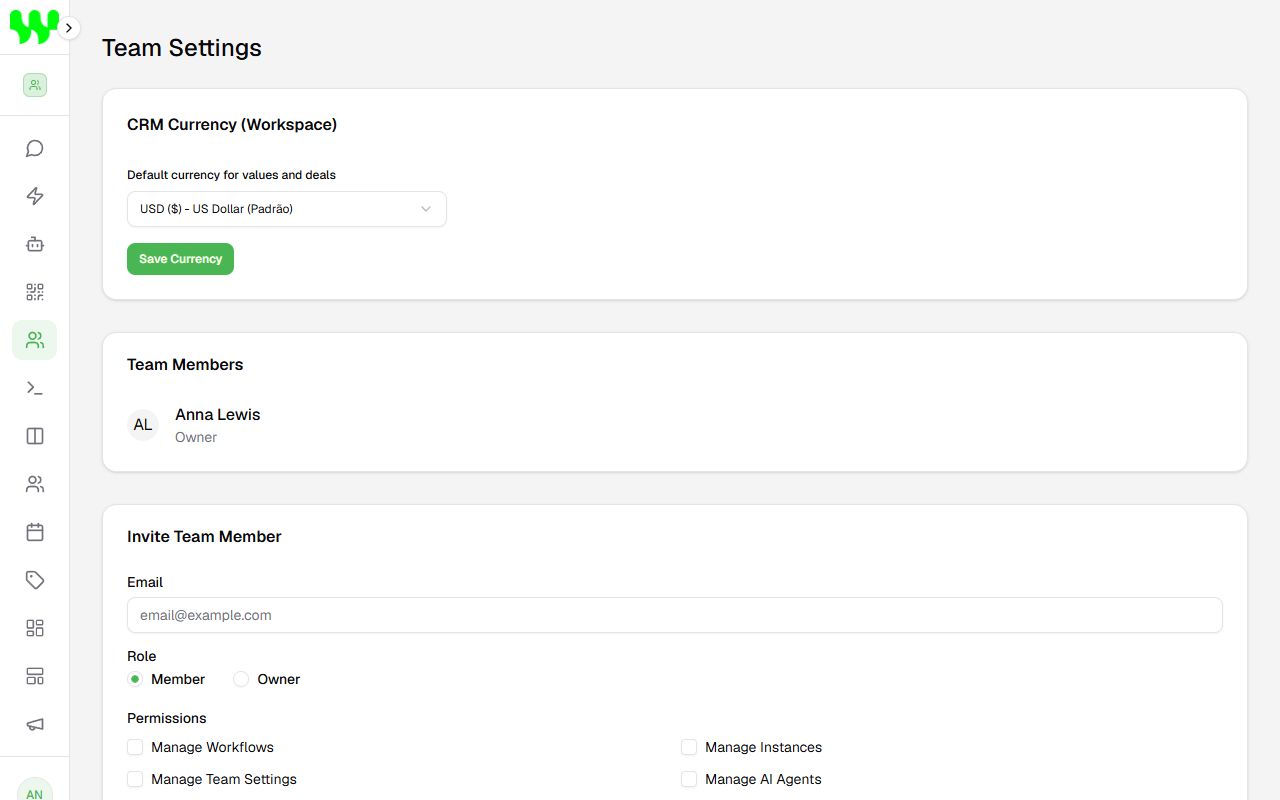
In My Team you invite people to work with you, control each person's permissions and set the currency used in deals.
Roles: Owner and Member
- Owner: can do everything, including billing and permissions. Every team has at least one.
- Member: can only do what the owner allows in the permissions.
Invite someone
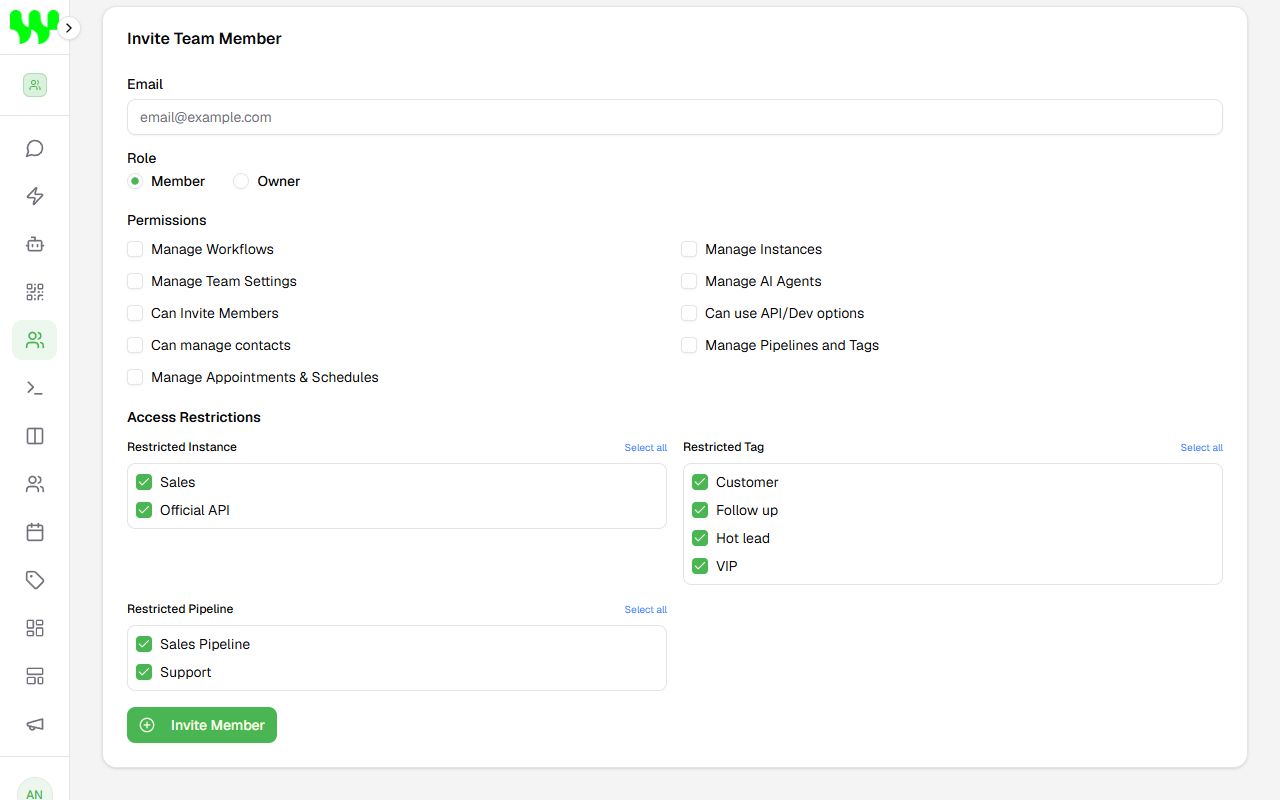
- In Invite Team Member, type the person's Email.
- Choose the Role (Member or Owner).
- Tick the Permissions (see the table below) and, if you want, the Access Restrictions.
- Click Invite Member.
The person receives an invitation email. The invitation appears under Pending Invitations, where you can:
- Copy Link: copy the invitation link to send it by WhatsApp, for example.
- Resend Email.
- Revoke: cancel the invitation.
The invited person must sign up (or log in) with the same email as the invitation. When they log in, a notice lets them Accept or Decline.
Permissions
| Permission | Unlocks |
|---|---|
| Manage Workflows | Automations, Templates and Campaigns. |
| Manage Instances | Connecting, editing and disconnecting WhatsApp numbers. |
| Manage Team Settings | Team settings, Pipelines, Tags and Dashboard. |
| Manage AI Agents | Creating and configuring AI Agents. |
| Can Invite Members | Inviting people to the team. |
| Can use API/Dev options | The Developers page and API keys. |
| Can manage contacts | The Contacts (CRM) page: create, edit, import, export and delete. |
| Manage Pipelines and Tags | Creating and editing pipelines, stages and tags. |
| Manage Appointments & Schedules | Creating and changing appointments on the Schedule (without it, the schedule is read-only). |
Any member can use the Chats screen to serve customers. Items without permission disappear from the menu.
To change the permissions of someone already on the team, click Edit Permissions next to their name, adjust and click Save Permissions. To remove someone from the team, use Remove — they lose access immediately.
Access restrictions
Use restrictions so a team member sees only part of the customers. In each list, the ticked items are the ones the person can see; with everything ticked, they have full access.
- Restricted Instance: only sees chats from the ticked numbers (e.g. only the Sales number).
- Restricted Pipeline: only sees contacts in the ticked pipelines.
- Restricted Tag: only sees contacts that have one of the ticked tags.
Contacts with no pipeline or no tag remain visible.
Example
A support team that should not see negotiations: tick only the Support pipeline under Restricted Pipeline and don't grant Manage Team Settings.
CRM currency
At the top of the page, in CRM Currency (Workspace), choose the default currency for deal values ($, R$, €...) and click Save Currency.
Multiple teams (workspaces)
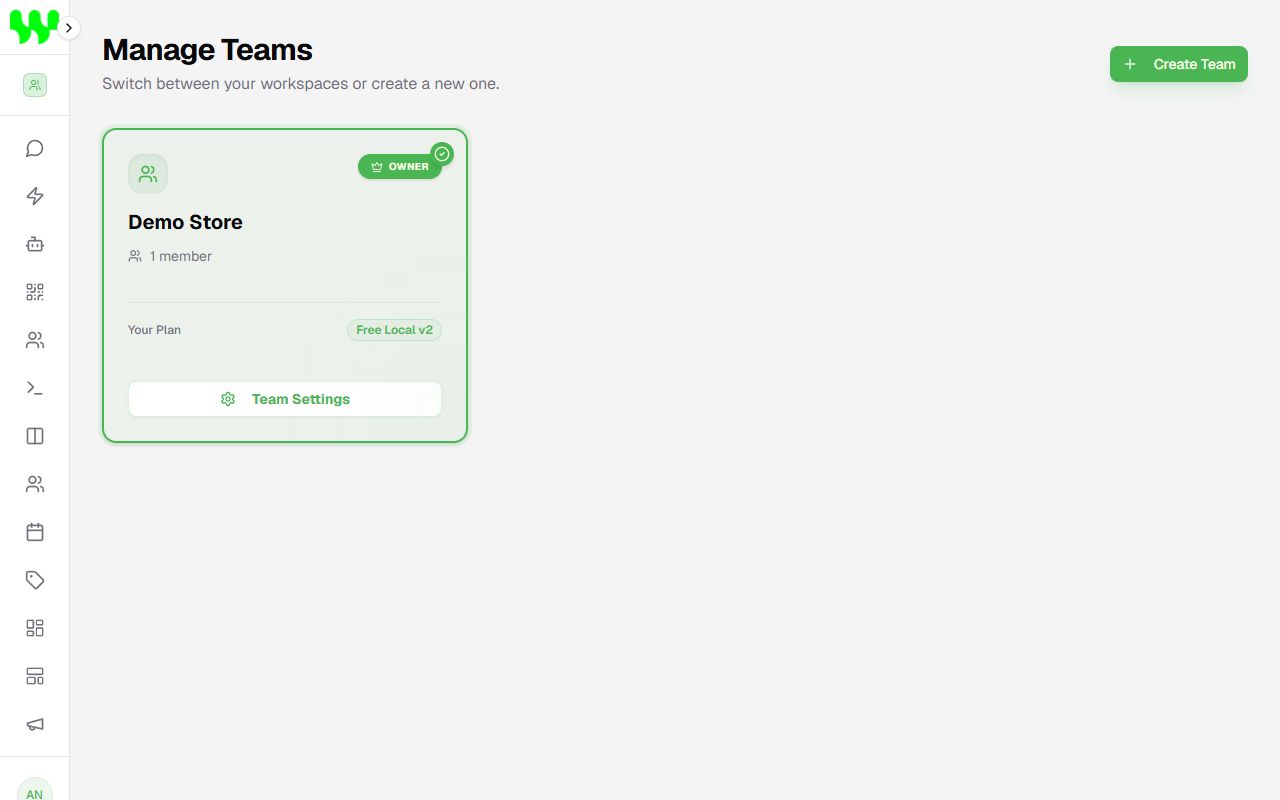
You can have separate teams — for example, one per store or client. Each team has its own numbers, chats, contacts and bots.
- Create: in Manage Teams, click Create Team.
- Switch: click the team name at the top of the side menu or Switch to this team.
- How many teams you can create depends on your plan. User, number and contact limits are added up across all teams you own.